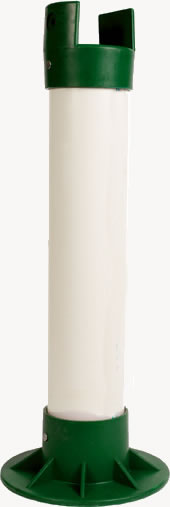
Redi-Footing is a PVC based alternative to poured concrete footings for decks, fences and other forms of light construction. It offers low costs, less labor, proven structural strength. Unlike concrete, it isn’t weather or temperature dependant during installation. Footings can be easily relocated if necessary.
Over time, concrete footings can degrade from temperature induced spalling (pieces break off from the concrete), salt and other soil components, and rusting of steel components. Redi-Footing has none of these drawbacks.
Assembly & Installation
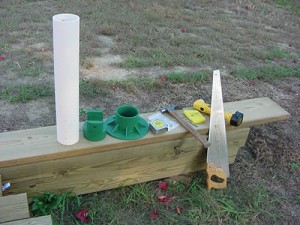
- Tools Required
- Hand saw
- Power drill with ¼ drill bit
- Hammer
- Tape measure
- Block of scrap wood
Redi-Footing Components
- Upper cap (1)
- Footing base (1)
- 2 ¼” galvanized lag screws (2)
- ¾” long by ¼” stainless steel pins (2)
Footing Assembly
1. Cut schedule 40 PVC pipe to length (determined by local code according to average local frost lines).
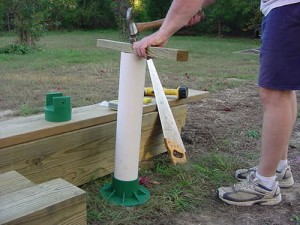
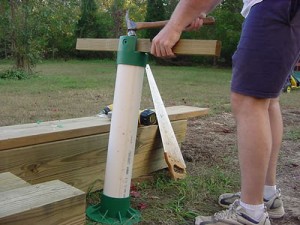
2. Insert PVC pipe into base, using a hammer and the block of scrap wood. Feel for the pipe to bottom out in the base.
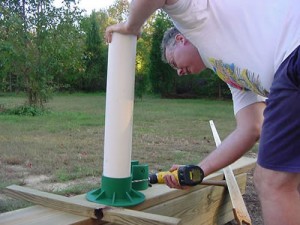
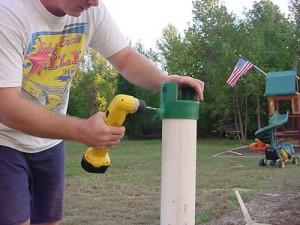
3. Drill ¼” holes through the base and pipe walls on opposite sides. These allow air to escape during the next step.
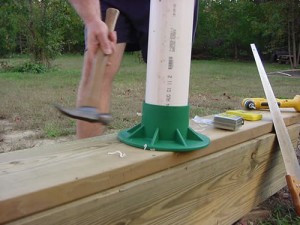
4. Attach the upper cap to the top of the PVC pipe, using the hammer and block of scrap wood. Make sure the pipe seats completely inside the cap.
5. Drill two ¼” holes through the upper cap and pipe walls.
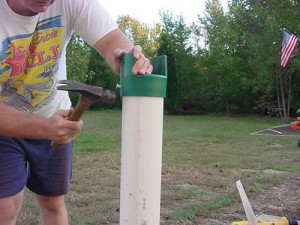
6. Using a hammer, insert the stainless steel pins into all four ¼” holes.
The footing is now ready for installation. (Didn’t we tell you this would be easy?)
 Installation
1. Dig your holes so that the bottom edge of the upper cap will be at ground level.
2. Fill the holes around the Redi-Footing so that each footing is plumb and level.
3. Attach posts to the Redi-Footings with the galvanized lag bolt supplied. A 4×4 treated post will fit directly between the ears on the post cap.
You are done with your footing installation!

